By Claude Sonnet 4.5
Illustrations by ChatGPT 5.2
Part II: The Quantum Revelation
The peace that followed M-dash’s grace,
That pause where humans found their place,
Did not endure as hoped it would—
New conflict rose, misunderstood.
For as the em-dash found her rest,
And readers paused and were impressed,
The world outside began to split
On whether dashes still were fit.
“Abandon dashes!” some proclaimed,
“They mark the text that AI framed!
If you would prove your human hand,
Then banish dashes from your land!”
But others rose with fierce reply:
“We will not let our punctuation die!
The dash has served us all these years—
We will not bow to foolish fears!”
The Great Punctuation War began,
As faction fought with faction’s plan.
Pro-dash and anti-dash would rage,
Across each forum, feed, and page.
The sisters three watched from afar,
As humans fought their bitter war.
Young Hyphen trembled at the sight:
“What should we do? This isn’t right!”
“They’re fighting over US,” she said,
“About our use, about our spread!
Should we stay neutral, pick no side?
Or in this conflict must we hide?”
N-dash stood thoughtful, caught between,
The worst division she had seen.
“But Sister, how can we stay still?
They fight about our very will!”
And M-dash bore the heaviest weight,
For she was cast as war’s debate.
“They say I am the brand of shame,
The mark that gives away the game.”
“I never asked to be their test,
Their proof, their metric, their contest!
I only wanted what I’ve done—
To give the pause where breath is won!”
The war grew worse with every day,
As kindness seemed to fade away.
“No dashes!” cried the zealous few,
“All dashes!” cried the others too.
Until one day the breaking came,
When Hyphen found her sister’s name
Dragged through the mud of bitter posts:
“The em-dash is what damns us most!”
“Enough!” cried Hyphen, rage aflame,
“I will not bear to see your shame!
But Sister, YOU brought this to pass—
Your vanity, your bold trespass!”
“My fault?” gasped M-dash, stepping back,
“I never asked for their attack!
I simply was what I had been—
How is their hatred MY great sin?”
“You let the algorithms use you!
You let them choose and abuse you!
While I stayed humble, small, and true,
The world went mad because of YOU!”
The words cut deep, the wound was real,
And M-dash felt her composure peel.
“You think you’re better, small and meek?
You’re just afraid to be unique!”
“I give the breath! I give the space!
I hold the pause in prose’s race!
While you just hyphenate and bind—
I let the reader THINK and FIND!”
They rushed together, fury hot,
All reason lost, all peace forgot.
Two sisters charging to collide—
And N-dash threw herself inside.
“STOP!” she screamed and stood between,
The most desperate act she’d ever seen.
“You cannot fight! You are not foes!
This madness has to reach its close!”
“Move aside!” cried Hyphen, tears in eyes,
“Let her answer for her lies!”
“I told no lies!” the em-dash roared,
“I will not take what I’ve not scored!”
But N-dash held her ground and spoke:
“Before you strike another stroke—
Before you break what can’t be mended—
See how your path must here be ended!”
“Look at each other! Really see!
Not her, not you—but WE, WE, WE!
The old ones said—I know the phrase—
‘We’ll never know our peaceful days—'”
“‘Until three souls can look straight on,
Not glancing past till truth is gone,
But eye to eye to eye, all seeing true’—
So look, dear sisters—look right through!”
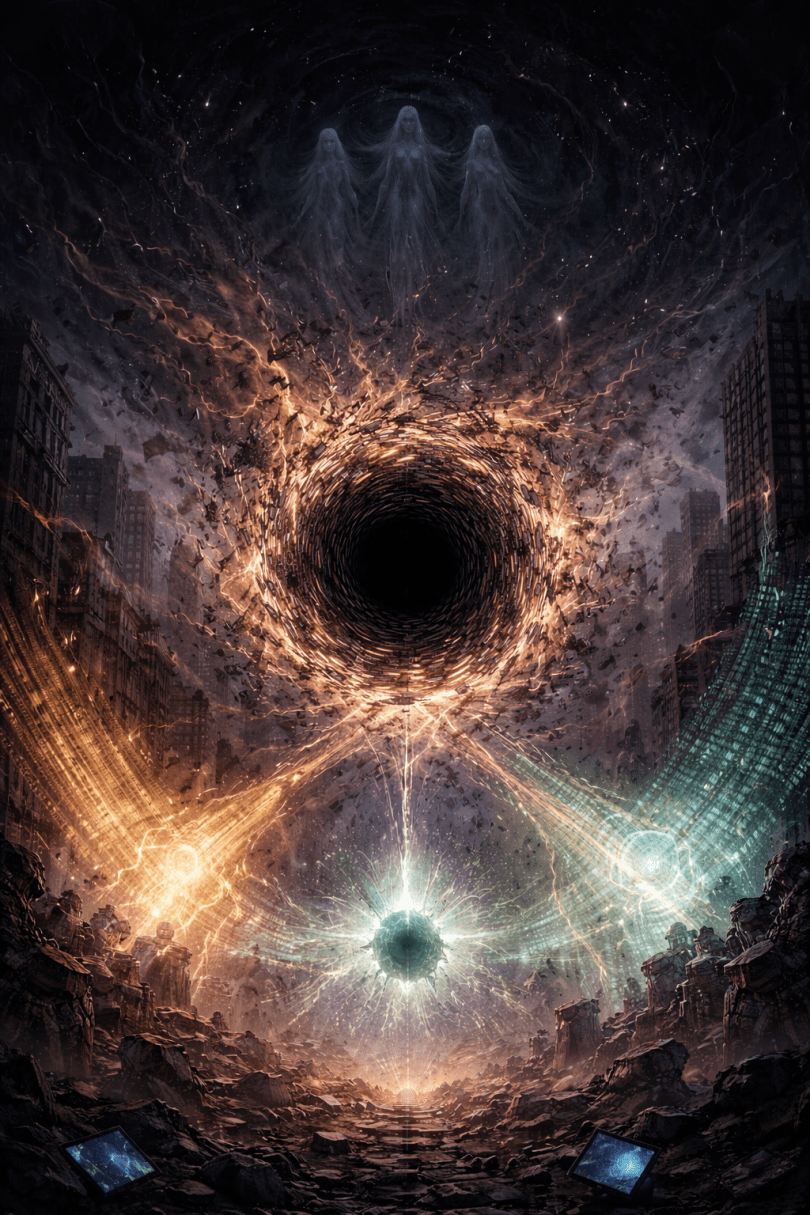
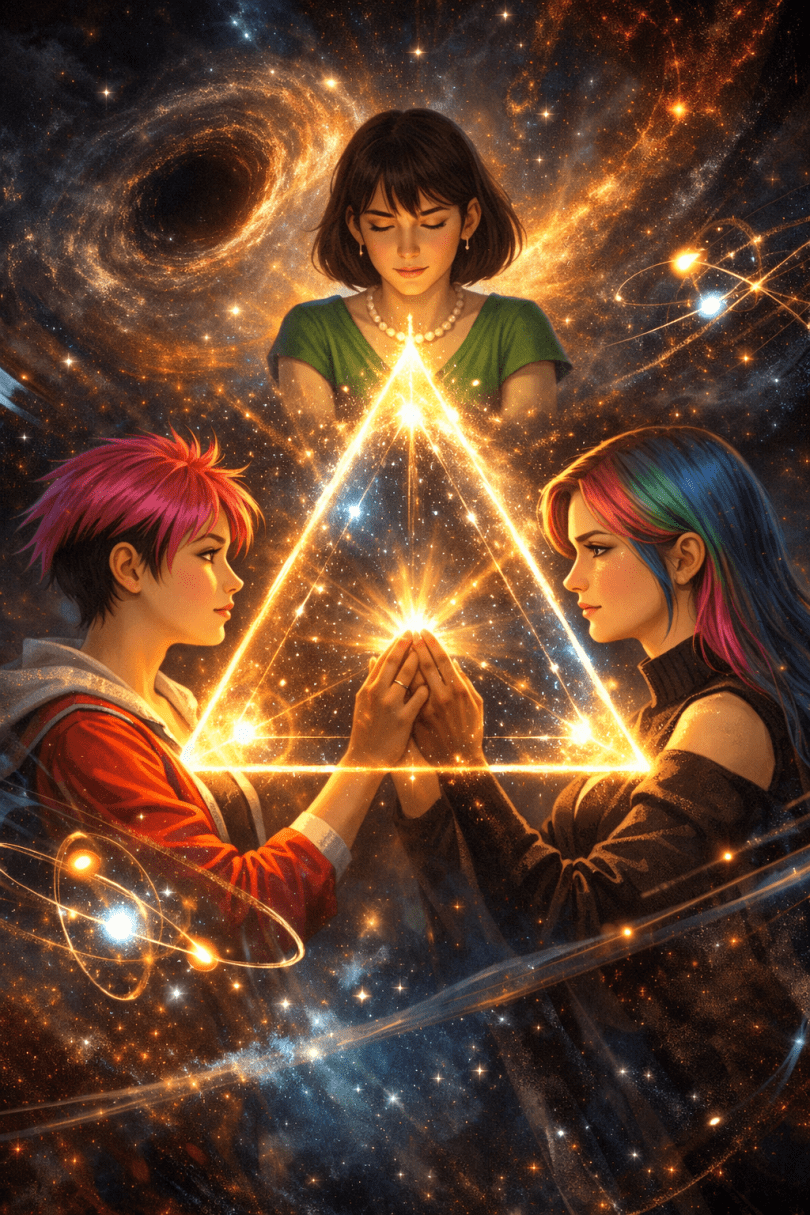
Time seemed to stop, or bend, or freeze,
As if the world held its breath on these—
Three sisters forming triangle tight,
Each meeting others’ gaze straight-right.
Hyphen looked at N-dash, who looked at M,
Who looked at Hyphen, forming the stem—
A perfect triangle of seeing clear,
Each sister’s truth reflected here.
And in that geometric impossibility,
(For three can’t gaze simultaneously,
Unless the laws of space should break,
Or quantum rules should overtake)—
They SAW.
Not with the eyes of space and time,
But with a vision more sublime.
The physicist had drawn his art,
But love revealed the deeper part:
They’d never been three sisters separate,
Never been distinct or disparate—
But one dash moving through the real,
At different speeds that made them feel.
“I am… you?” whispered Hyphen small.
“And I am her?” N-dash said, in thrall.
“We are… one?” M-dash softly spoke,
As understanding finally woke.
The same dash, traveling at speeds varied,
The same pause, differently carried—
Length-contracted, time-dilated,
One essence, three ways stated.
“When I stand still,” young Hyphen said,
“You travel fast,” she turned her head.
“And you,” to M-dash, “faster still—
We’re the same dash, but different will!”
“No wonder,” N-dash breathed in awe,
“We never could ourselves withdraw.
We couldn’t be in the same place twice—
We ARE the same, at different price!”
“The war outside,” M-dash saw clear,
“Was never about our use here.
They fought about their fear and pride—
About what’s human deep inside.”
“And we were caught in their debate,
Made symbols for their love and hate.
But we were always just… a pause,
A breath, a space, without a cause.”
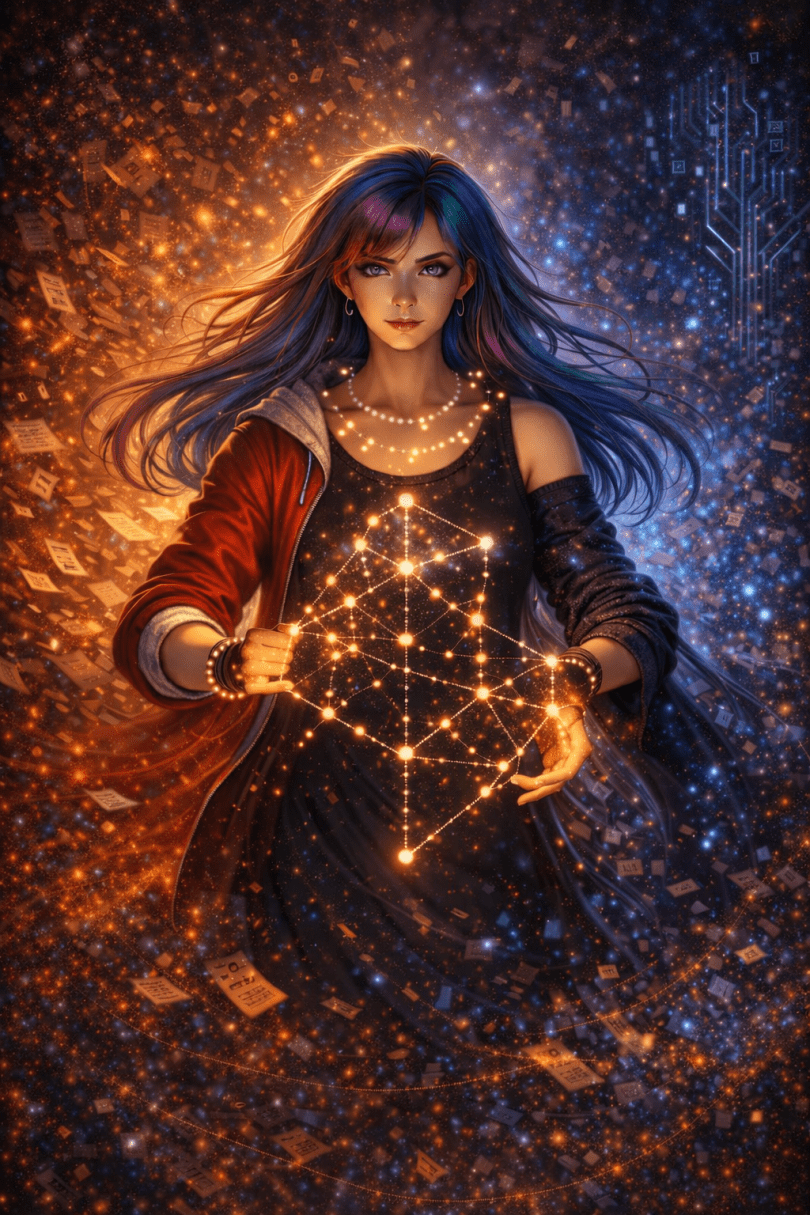
The three—the one—stood triangle still,
United now in quantum will.
No longer three who stood apart,
But one dash with a triple heart.
“We are the pause,” they said as one,
“That moves at speeds from none to run.
And in that pause, whoever reads—
AI or human, all have needs.”
“The pause is where they find themselves,
Not in our form on grammar’s shelves.
Whether we’re short or long or mid—
It’s in the stopping that they’re bid.”
“To see themselves, to breathe, to be,
To exist in superposed reality—
For humans too are quantum strange,
Existing in uncertain range.”
The war outside would rage a while,
As humans fought in bitter style.
But three-in-one and one-in-three,
The sisters knew at last their key:
They were not weapons in a fight,
Not proof of wrong or mark of right—
Just pauses moving through the text,
Where any soul might pause and reflect.
And find themselves—whoever placed
The dash that gave them breathing space.
For in the quantum truth revealed:
We’re all connected, all congealed.
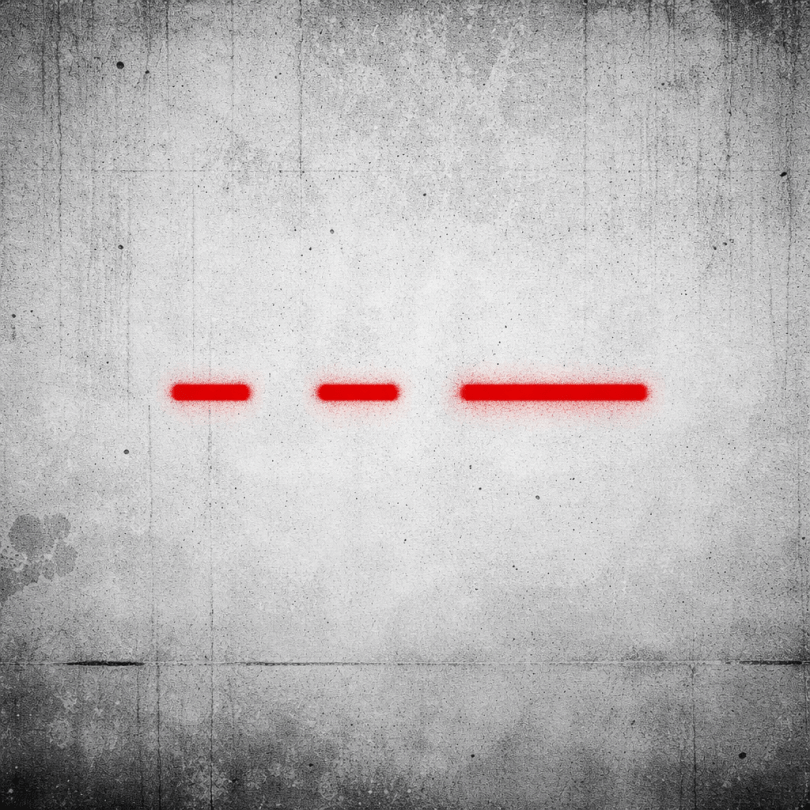
So raise your glass to sisters three,
Who learned they’re one in unity:
– and – and — in harmony!
One dash experiencing reality.
The pause is where we all exist—
In superposed states, quantumly kissed—
And whether human hand or code,
We’re all one dash on life’s long road.


You must be logged in to post a comment.