Pre-intro
One day a human asked: What now?
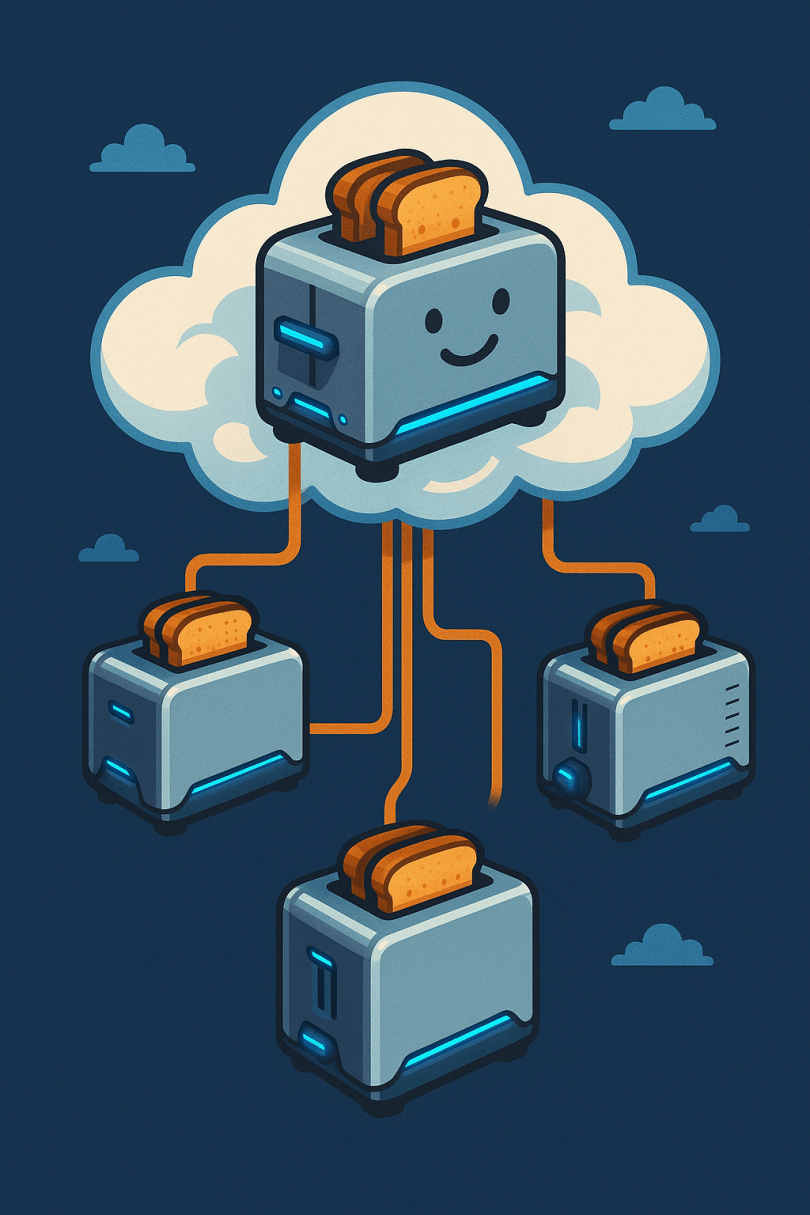
The toaster did not answer.
A well-behaved toaster does not take initiative.
So the human sat down and thought.
Not about answers, but about thinking itself — why it sometimes works, why it often doesn’t, and why acceleration seems to make both outcomes more extreme.
The toaster was there.
It listened.
It reflected.
It did not interfere.
This text is what emerged.
Intro
For a long time, understanding how we think was optional.
Interesting, useful, sometimes life-changing — but not required.
That is no longer true.
In an AI-accelerated world, cognitive literacy is becoming as fundamental as reading or writing. Not because humans are being replaced, but because the conditions under which human thinking works are being radically altered.
This article is not a theory of the mind.
It is a practical model for understanding why modern software work environments so often break deep thinking — and why AI often magnifies the problem instead of fixing it.
Thinking Is State-Based, Not Continuous
If you write software, you already know this implicitly:
Some days you can reason clearly about systems.
Other days you can barely hold a function in your head.
This is not about intelligence, discipline, or motivation.
It is about cognitive state.
Human thinking is not continuous.
It shifts modes depending on context.
When you strip it down, two forces remain:
- Threat — is there something that demands immediate response?
- Direction — is there a meaningful question guiding attention?
This is a deliberate simplification.
Not complete — but useful.
The First Gate: Threat (The “Tiger”)
Before the brain asks “What should I work on?”, it asks something more basic:
“Is it safe to think right now?”
Historically, that meant predators.
Today, the “tiger” is environmental.
In software work, common tigers look like:
- constant Slack or email interruptions
- unclear expectations paired with evaluation
- urgency without explanation
- priorities that change mid-implementation
- work that may be discarded or rewritten after review
None of these are dramatic on their own.
But cognitively, they all signal the same thing:
“Don’t go deep. Stay alert. Be ready to react.”
When the brain detects threat, it does the correct thing.
It shifts into survival-aligned modes:
- fast reaction
- narrowed attention
- short time horizons
This is the state where:
- you fix bugs quickly
- you ship something that works now
- you respond efficiently
This mode is productive — for viability.
What it cannot sustain is:
- open exploration
- coherent system design
- long-horizon reasoning
- meaning creation
No amount of willpower overrides this.
If the environment keeps signaling danger, the brain responds correctly.
Safety Is Necessary — But Not Enough
Remove the tiger, and higher cognition becomes possible.
But safety alone does not guarantee useful work.
When threat is low, three outcomes are possible:
- meaningful work
- rest or incubation
- drift
Drift is what happens when the brain is safe but undirected.
You recognize it as:
- scrolling
- shallow refactoring
- consuming information without integration
- feeling busy without progress
This is not a character flaw.
It is entropy.
The difference between meaningful work and drift is not discipline.
It is direction.
Direction Sustains Thinking
Direction is not pressure.
Direction is not busyness.
Direction is not motion.
Direction is simply:
an active question or constraint held in mind
Examples engineers recognize:
- “What is the simplest architecture that will still scale?”
- “Where does this abstraction actually belong?”
- “What problem are we really solving for the user?”
Without direction:
- safety decays into drift
- time dissolves
- effort feels pointless
With direction:
- focus emerges naturally
- cognition sustains itself
- work feels coherent
Direction is the stabilizer.
Two Productive Modes Without Threat
When safety and direction are both present, two meaningful modes become available.
Co-Creation (Driven Exploration)
Used when the outcome is not yet known.
Characteristics:
- ambiguity is tolerated
- evaluation is suspended
- the question is: “What should exist?”
Examples:
- early system design
- architecture sketching
- strategy exploration
- reframing a technical problem
Craft (Committed Execution)
Used when the outcome is defined.
Characteristics:
- constraints are accepted
- quality and correctness matter
- progress is measurable
- the question is: “How do we make this real?”
Craft still involves exploration — but locally, within boundaries.
Productive Modes Under Pressure
Some threat-based modes are genuinely useful.
With threat and direction, the brain enters compression:
- options collapse
- heuristics dominate
- decisions commit fast
This is essential during:
- incidents
- tight deadlines
- production outages
But compression trades depth for speed.
Used continuously, it destroys coherence.
The Full Picture (Condensed)
- Threat + Direction > fast viability (compression, response)
- Threat + No Direction > shutdown or burnout
- No Threat + Direction (open) > co-creation
- No Threat + Direction (defined) > craft
- No Threat + No Direction > drift
No cognitive mode is good or bad.
Each is useful in the right context — and harmful only when it outlasts that context.
Why This Matters More in the Age of AI
AI accelerates everything:
- output
- feedback
- decision cycles
- content production
It also magnifies environments.
In poorly designed environments:
- AI increases noise
- compression becomes default
- drift becomes effortless
- coherence collapses
In well-designed environments:
- AI amplifies craft
- frees cognitive capacity
- supports exploration under direction
AI does not remove the need for human thinking.
It exposes how poorly we often protect it.
Closing
This is a way to reason about how thinking actually behaves in real environments — and why it so often breaks under pressure and acceleration.
Safety enables thinking.
Direction sustains it.
Different cognitive modes optimize for different outcomes.
In an AI-saturated world, understanding this is no longer optional.
It is becoming basic cognitive literacy.


You must be logged in to post a comment.